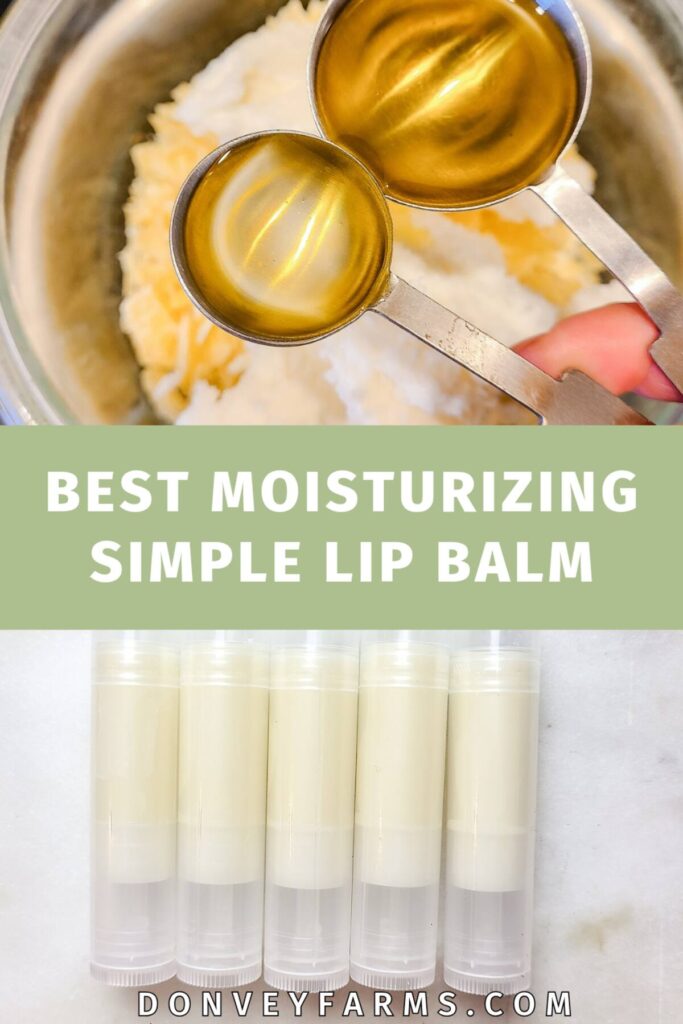
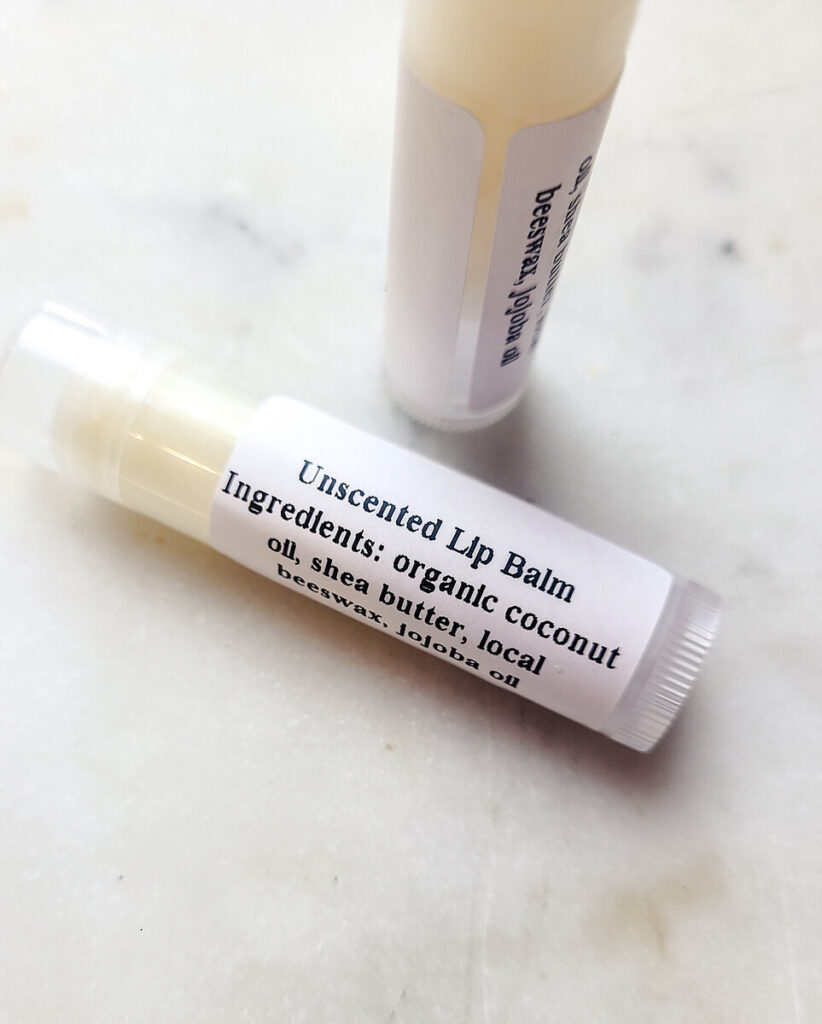
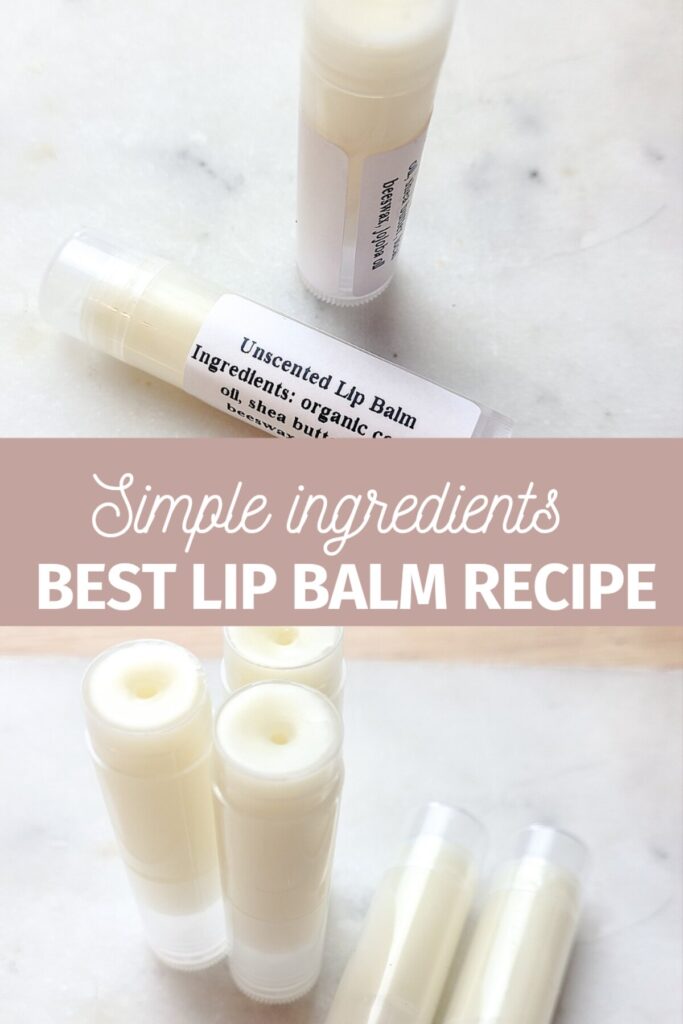
Better Than Store Bought All Natural Lip Balm Recipe
Going from store-bought to homemade can always seem like a daunting task. But with this simple and affordable recipe, switching to an all-natural lip balm is a breeze! This better than store bought all natural lip balm recipe is going to be a lifelong favorite as soon as you try it.

This post contains affiliate links, which means I make a small commission at no extra cost to you. Please read my full disclosure policy here.
Better Than Store Bought, Really?
When I claim this recipe is better-than-store-bought I’m not kidding! Years ago I was a die-hard Burts Bees lip balm fan. Nothing else could substitute. Once they got bought out by a not-so-savory bigger company, I decided to try to formulate a recipe that would work even better than the name brand! My search started with “better than Burts Bees lip balm recipe”. What I found from that, I substituted, reformulated, and created a recipe I totally love! My farm stand customers love it as well. It is one of my best selling products.
Why It Works:
A combination of rich oils, moisturizing shea butter, and healing beeswax make this recipe perfect for everyday use. Each ingredients was hand-picked by myself to promote moisture and healing. All-natural, affordable, and easy. What’s not to love?
About The Ingredients:
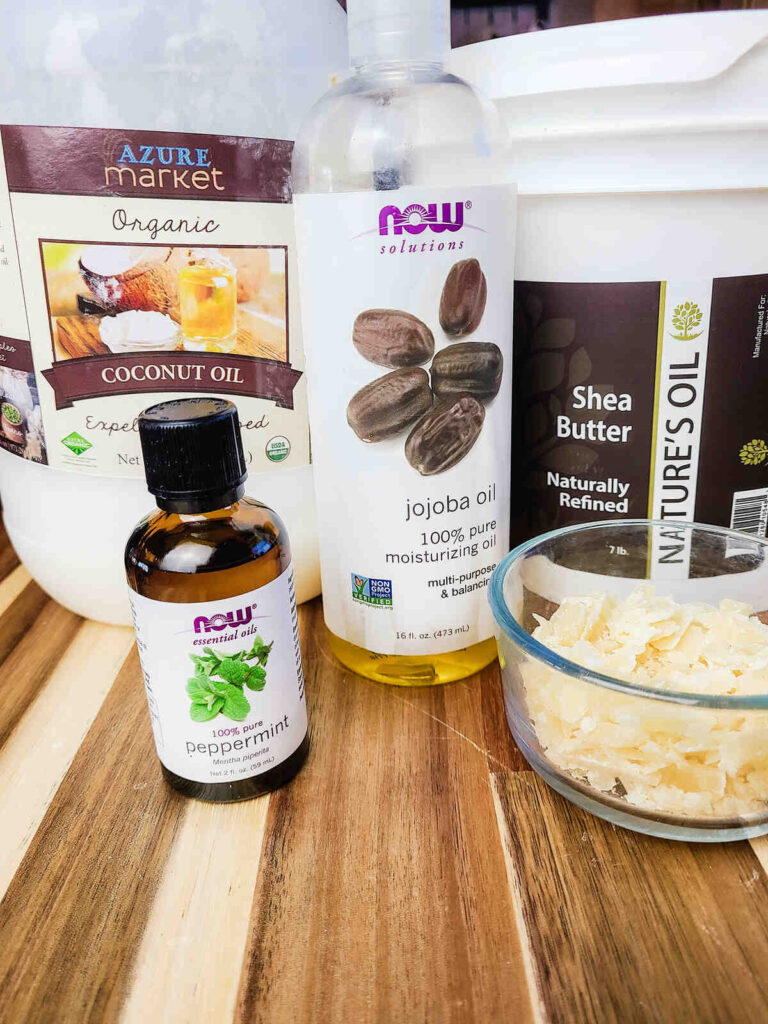
- Coconut oil – has anti-fungal, anti-bacterial, and anti-inflammatory benefits while also moisturizing the skin. Specifically in this recipe, it also helps the lip balm to melt and spread at the touch of warm skin – so the benefits aren’t just skin deep.
- Shea Butter – some oils work a bit deeper than others. Butters specifically like cocoa, mango, and shea do exactly this. While most oils are moisturizing, butters linger on the skin longer, are richer, and offer deeper skin benefits.
- Jojoba Oil – known for being moisturizing, antioxidant, noncomedogenic (won’t clog pores), and hypoallergenic. Jojoba oil is one of the most well-loved in the cosmetic formulation community. It is one of the closest oils to resembling skin sebum so it will not clog pores or cause acne while promoting moisture and healing.
- Beeswax – I prefer to use local beeswax to use in this recipe to support local farmers. But I have bought from Amazon as well and it works just as well. The beeswax in this recipe is used to solidify the oils and to give the balm a higher melting point so it an be stored in a warm purse and not create a big mess. Beeswax is also deeply moisturizing and has skin healing benefits. I have found the more beeswax you add, the longer it will stay on the skin and deeper it will moisturize. But if you add too much, it will make the lip balm too hard.
- Vitamin E (optional) due to its antioxidant properties, vitamin E can be used to prevent the oils in this lip balm from going rancid – giving it a longer shelf life. Vitamin E however is not technically a preservative because it doesn’t prevent the growth of microorganisms.
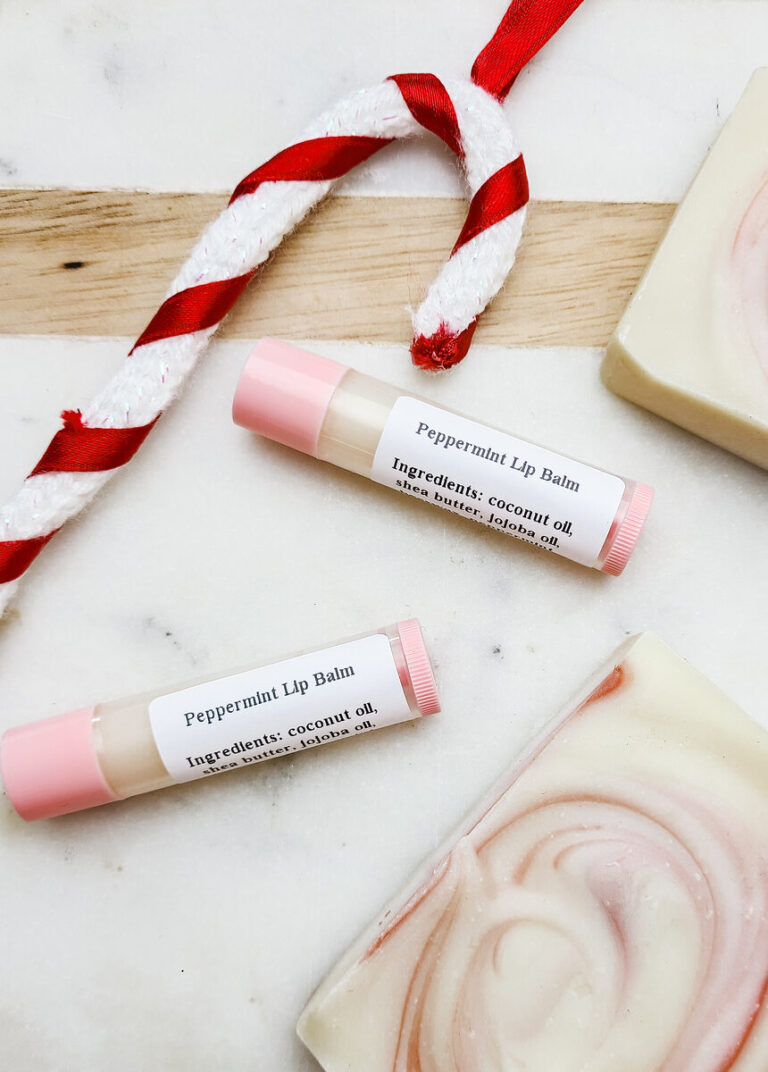
- Essential Oil (optional) while I prefer unscented lip balm, not everyone does. One of the most natural and easy ways to add scent to lip balm is essential oils. Each EO specifically needs to be researched for skin safety and usage rates before use. This can easily be done with a quick search of the internet. One I use often for customers and gifts is peppermint.
Why You’ll Love This Lip Balm Recipe:
- Easy – This is a very simple recipe to follow. With just a handful of ingredients and a little time you can have homemade lip balm to use yourself, sell, or gift to others.
- Customizable – you can add natural coloring like hibiscus powder to tint this balm. Or you can infuse the oils before making this recipe for deeper healing properties (like calendula) or to add scent (like vanilla beans or lavender). I talk all about how to infuse oil in this blog here.
- Affordable – a minimal amount of ingredients makes quite a few tubes of lip balm making this recipe very affordable. If there’s a specific ingredient you don’t usually have on hand like shea butter, you can ask a friend who might have some if they can spare a few grams for you. In return, you can give them a lip balm!
- All Natural – this recipe is made with simple, easy to acquire, all natural ingredients making it an excellent non-toxic alternative to mainstream Chapstick or lip balm.
Can I Substitute Different oils?
The oils in this recipe can be substituted as needed. It is good to try to use similar oils to maintain similar benefits and characteristics so I suggest researching which oils are similar to the one you are trying to replace. For example, I have substituted cocoa butter for shea butter in this recipe and it worked out great! I would not have a similar result if I substituted olive oil for shea butter they are very different products.
Can Homemade Lip Balm Go Bad?
Oils without any preservatives will go rancid over time. I have found it takes quite awhile for this to happen (6+ months unrefrigerated). Adding vitamin E can help slow the aging process due to its antioxidant properties. To extend the life of your lip balm, you can also store un-used tubes in the fridge until you’re ready to use them. I have found this to keep the balm good much longer than keeping them at room temperature.
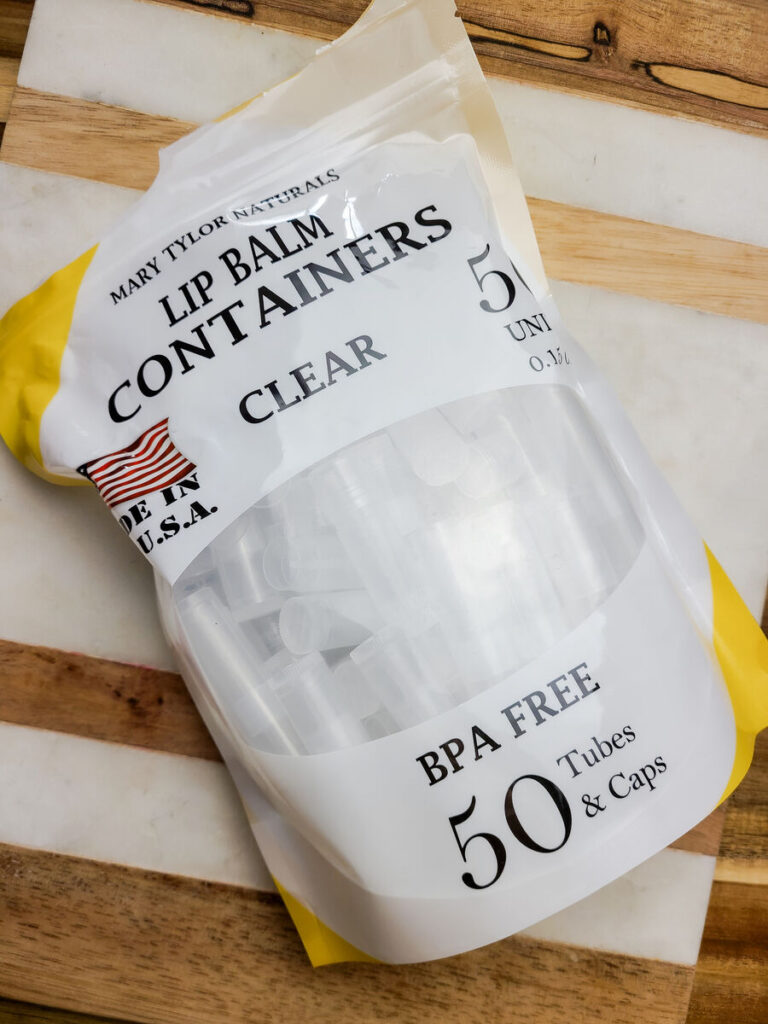
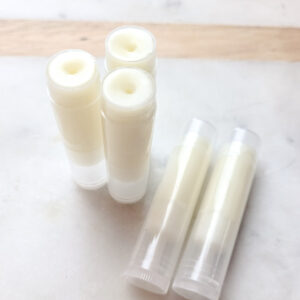
What Containers Should I Use?
For affordability and simplicity, I prefer to use lip balm in traditional lip balm tubes. This is my favorite brand from Amazon. If you’d like to store a larger amount, you can also use glass amber jars, aluminum tins, or plastic pots.
Better Than Store Bought All Natural Lip Balm Recipe:
Tools You’ll Need:
Kitchen scale
Pot or double boiler
Glass bowl (if not using a double boiler)
Measuring Spoons
Spatula
Pour spout container (like this)
Ingredients:
Vitamin E (optional)
Essential oil of choice (if scent is desired)
How To Make This Recipe:
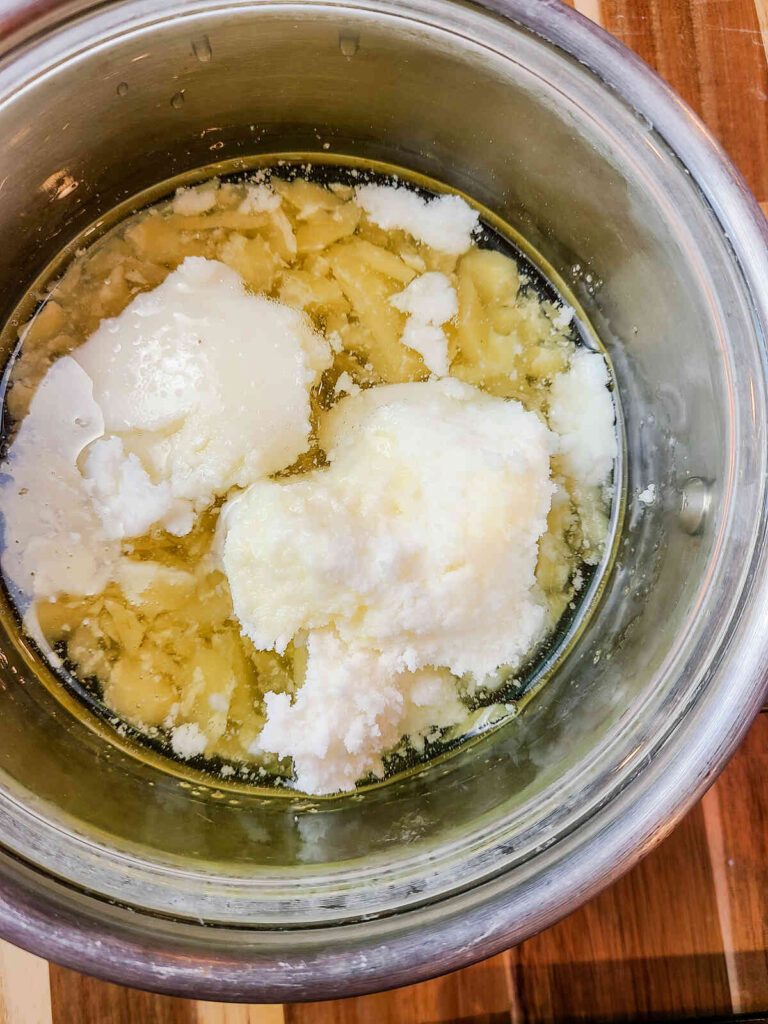
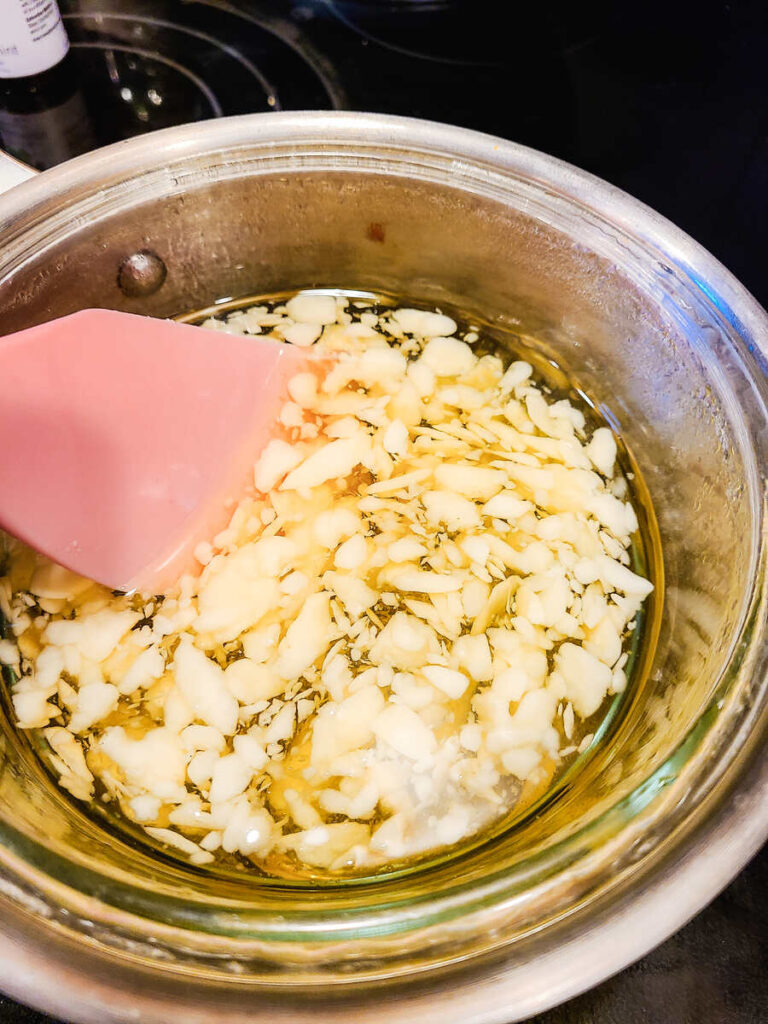
Measure all ingredients (except vitamin E and essential oil) into glass bowl or the top of double boiler pot. This recipe can also be made in the microwave. Heating in 30 second increments and stirring until fully melted.

Add water to bottom of double boiler and set on stove top.
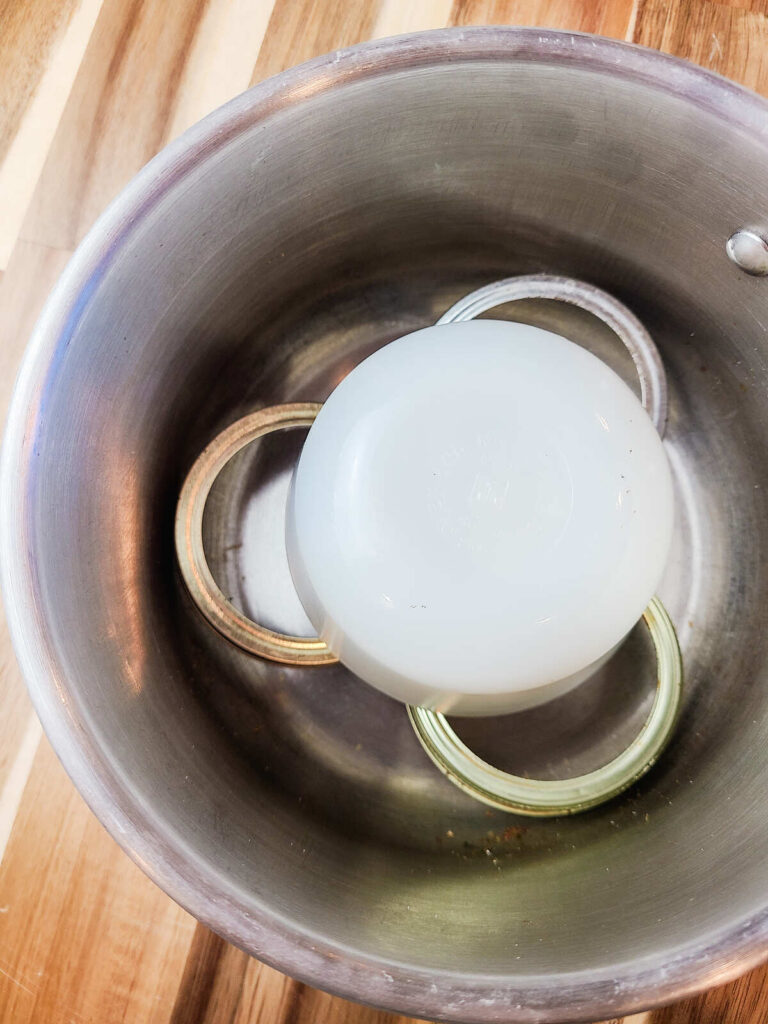
If not using a double boiler, line bottom of pot with canning lids or a washcloth- something to create a barrier between the glass bowl and bottom of the pot. Add water to fill pot half way. Fit glass bowl on to pot. This works as a homemade double boiler to prevent oils from over heating.
Set stovetop heat to medium-high. Once simmering, lower to medium low to slowly melt all ingredients. The beeswax takes the longest to melt.
*Tip* Make sure no water gets into the mixture from the pot
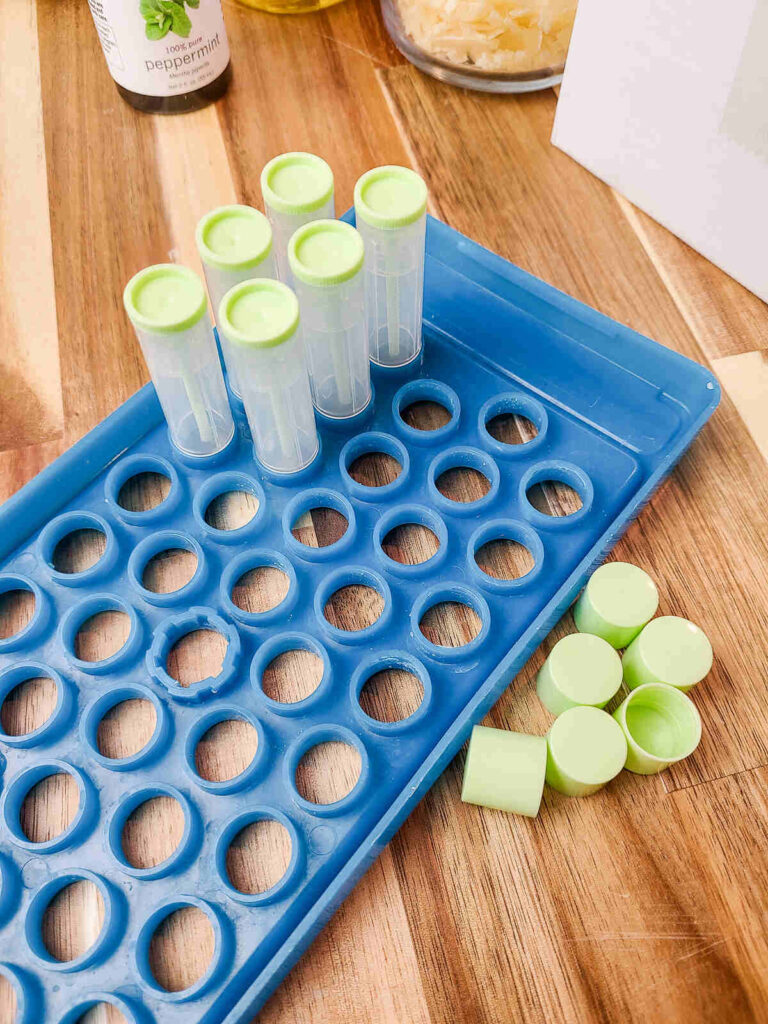
If you have a lip balm tube filler kit, fit tubes into the fill tray. Otherwise, just set out desired containers to pour lip balm into.
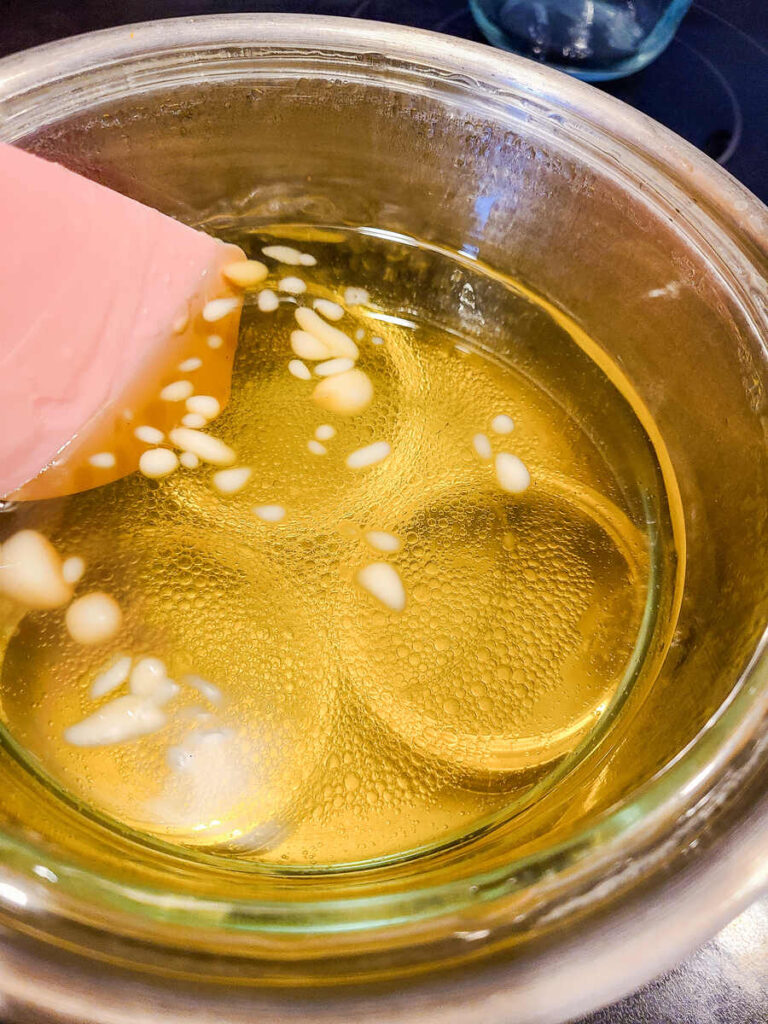
Once all ingredients are melted, remove from heat and add vitamin E and essential oil if desired.
Transfer the lip balm mixture into a container with a pouring spout for easier pouring.
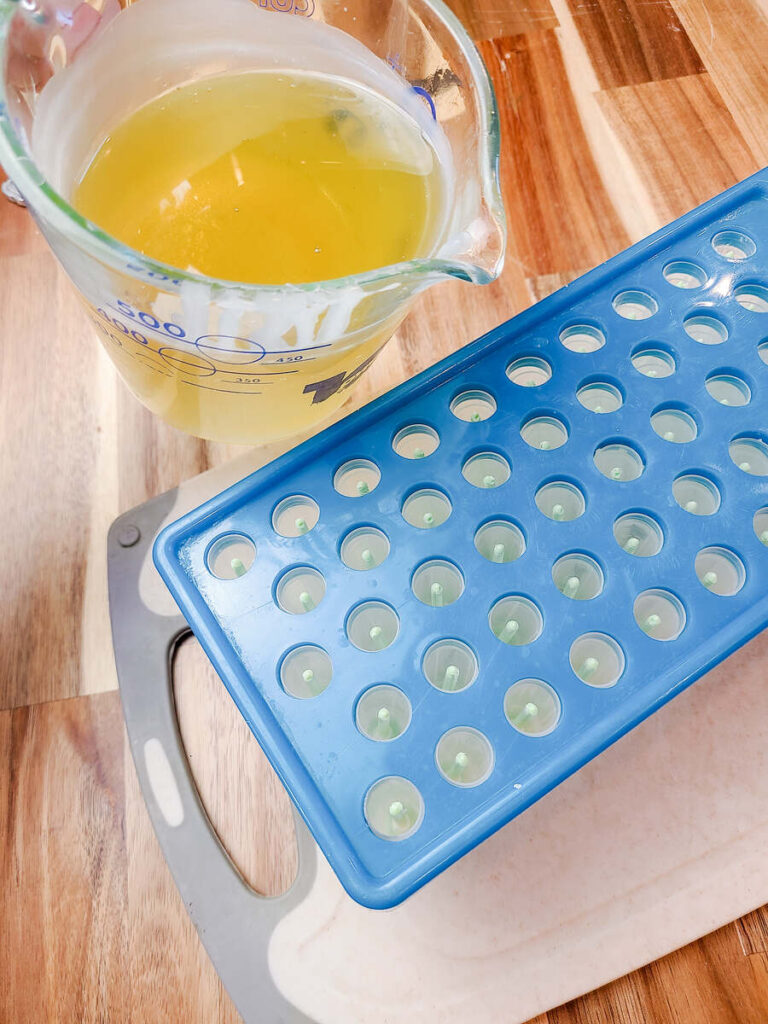
Carefully pour mixture into lip balm containers using a dropper or pouring slowly.
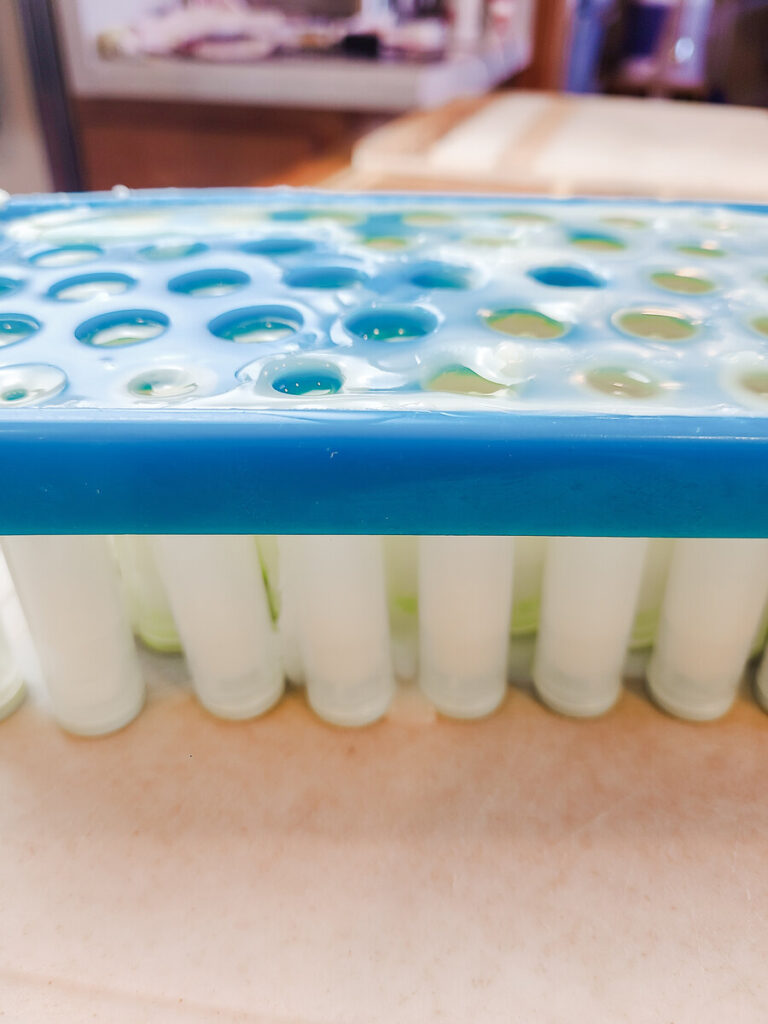
If mixture cools too quickly, put back on heat or briefly microwave to melt again.
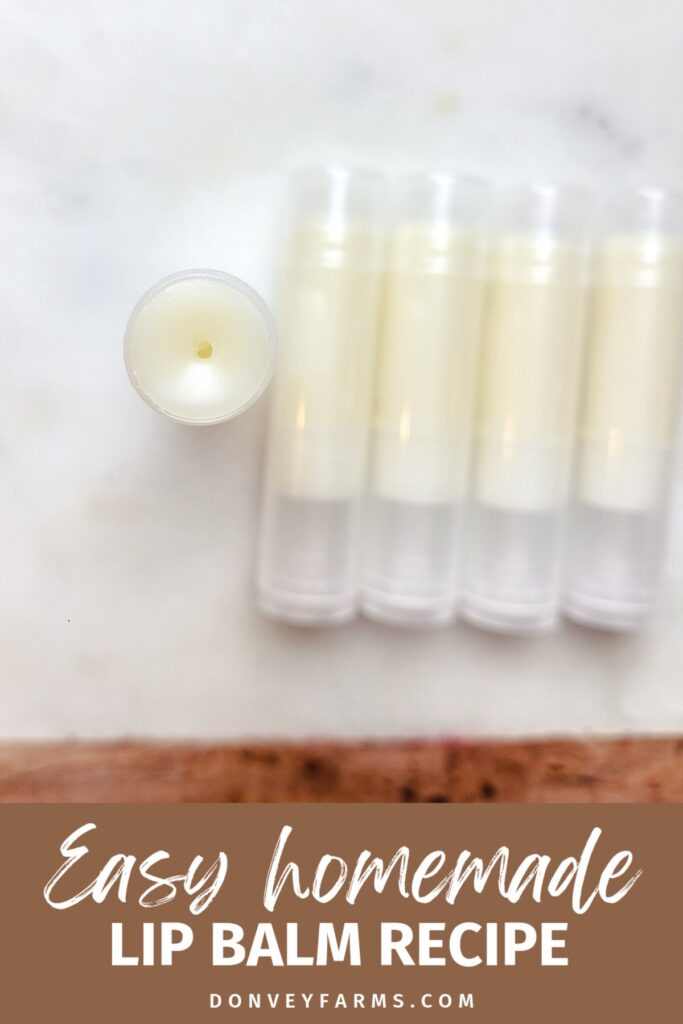
Wait for lip balm to solidify before putting the top on the containers.
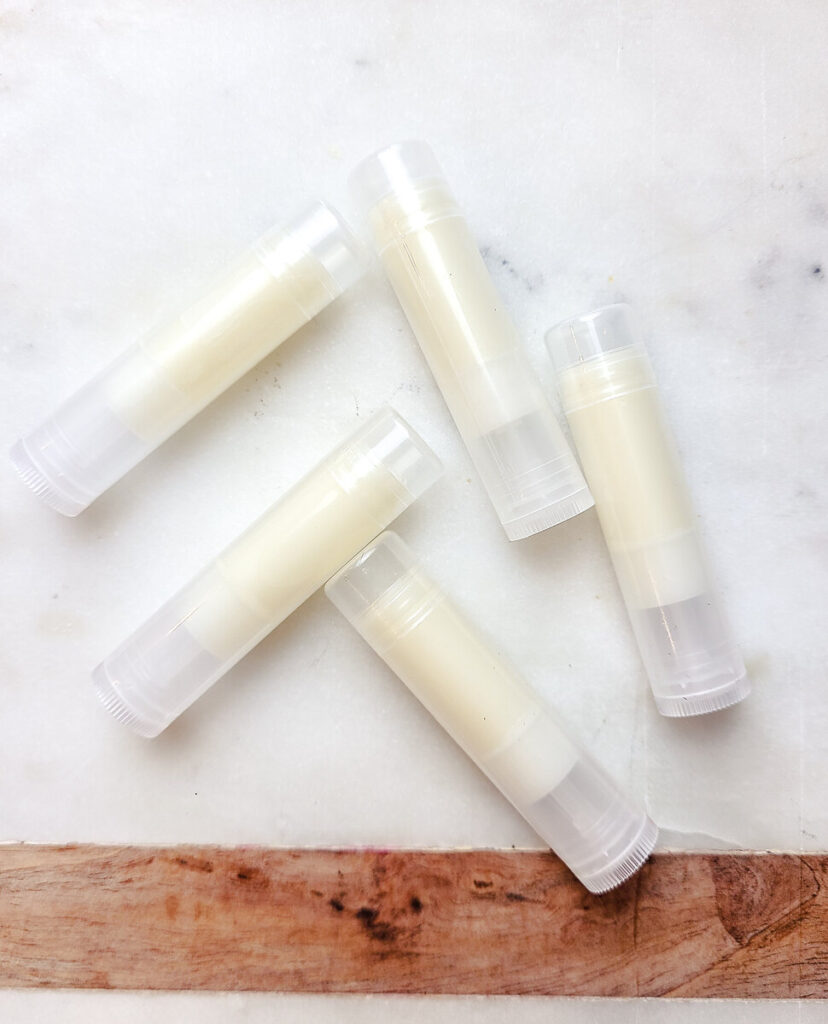
Label and store as desired.
Better Than Store Bought All Natural Lip Balm Recipe
Equipment
- Kitchen scale
- Pot or double boiler
- Glass bowl (if not using a double boiler)
- Measuring spoons
- Spatula
- Pour spout container (like this)
- Lip Balm Tubes
Ingredients
- 45 grams Coconut oil (approx. 1/4 cup)
- 20 grams Shea Butter (approx. 2 tbsp)
- 1 tsp Jojoba oil
- 1/8 tsp Vitamin E oil optional
- 6-12 drops Essential oil for fragrance optional
- 20 grams Beeswax (approx. 2 tbsp)
Instructions
- Measure all ingredients (except vitamin E and essential oil) into glass bowl or the top of double boiler pot. This recipe can also be made in the microwave. Heating in 30 second increments and stirring until fully melted.
- Add water to bottom of double boiler and set on stove top.
- If not using a double boiler, line bottom of pot with canning lids or a washcloth- something to create a barrier between the glass bowl and bottom of the pot. Add water to fill pot half way. Fit glass bowl on to pot. This works as a homemade double boiler to prevent oils from over heating.
- Set stovetop heat to medium-high. Once simmering, lower to medium low to slowly melt all ingredients. The beeswax takes the longest to melt.
- *Tip* Make sure no water gets into the mixture from the pot
- If you have a lip balm tube filler kit, fit tubes into the fill tray. Otherwise, just set out desired containers to pour lip balm into.
- Once all ingredients are melted, remove from heat and add vitamin E and essential oil if desired.
- Transfer the lip balm mixture into a container with a pouring spout for easier pouring.
- Carefully pour mixture into lip balm containers using a dropper or pouring slowly.
- If mixture cools too quickly, put back on heat or briefly microwave to melt again.
- Wait for lip balm to solidify before putting the top on the containers.
- Label and store as desired.
Notes
I love to gift these lip balms in different scent variations. For a Christmas version, check out this recipe!
Have You Tried This Recipe?
Let me know your thoughts in the comments below!
This post contains affiliate links, which means I make a small commission at no extra cost to you. Please read my full disclosure policy here.
References:
Jojoba oil facts: https://www.healthline.com/health/beauty-skin-care/jojoba-oil-for-face#antioxidant
Coconut oil facts: https://www.healthline.com/nutrition/coconut-oil-and-skin