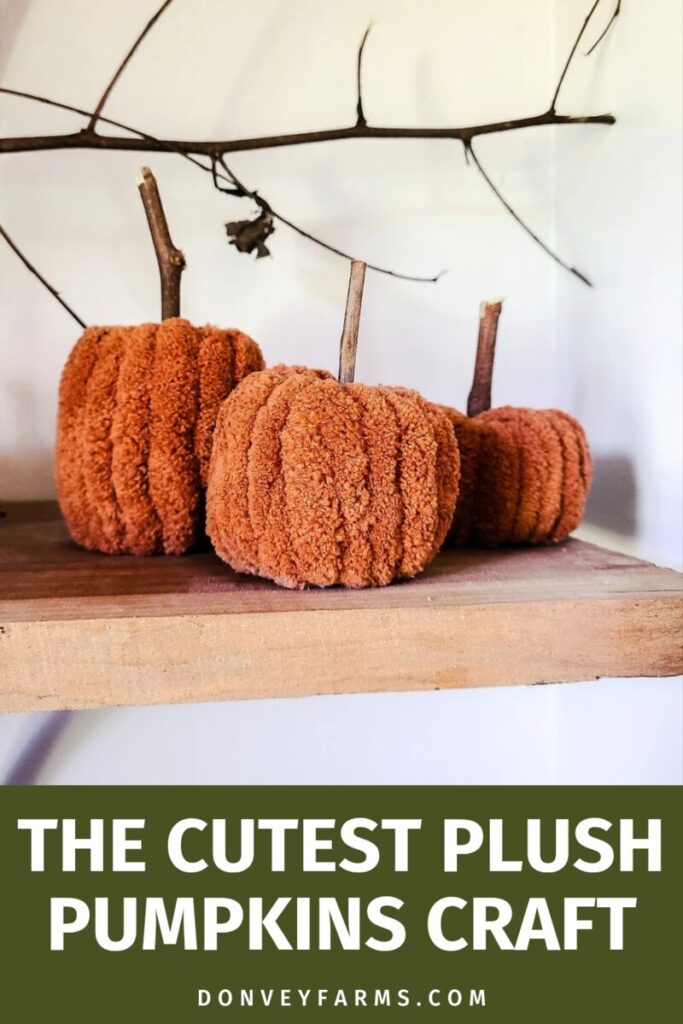
How To Make Plush Yarn Pumpkins Easy Tutorial
Fall is my favorite time of year for making cute home decorations and delicious food. Something about the transition from the warm summer days to the cooler days of autumn makes everything feel so cozy and right. Today I’m going to share with you this how to make plush yarn pumpkins easy tutorial. It’s a simple and adorable craft you can easily do with kids, a group or by yourself! Everyone loves these miniature plush pumpkins.
This post contains affiliate links, which means I make a small commission at no extra cost to you. Please read my full disclosure policy here.
One thing I have come to appreciate since having kids is no-sew craft tutorials. Anything that can be put together without extra equipment and with minimal supplies is a win for me! These pumpkins are so cute, it’s hard to imagine you can put them together within minutes! Between the few materials required and simplicity of assembly, this craft has become an absolute favorite in our house. Let’s make this cute fall craft together!
What is a Plush Yarn Pumpkin?
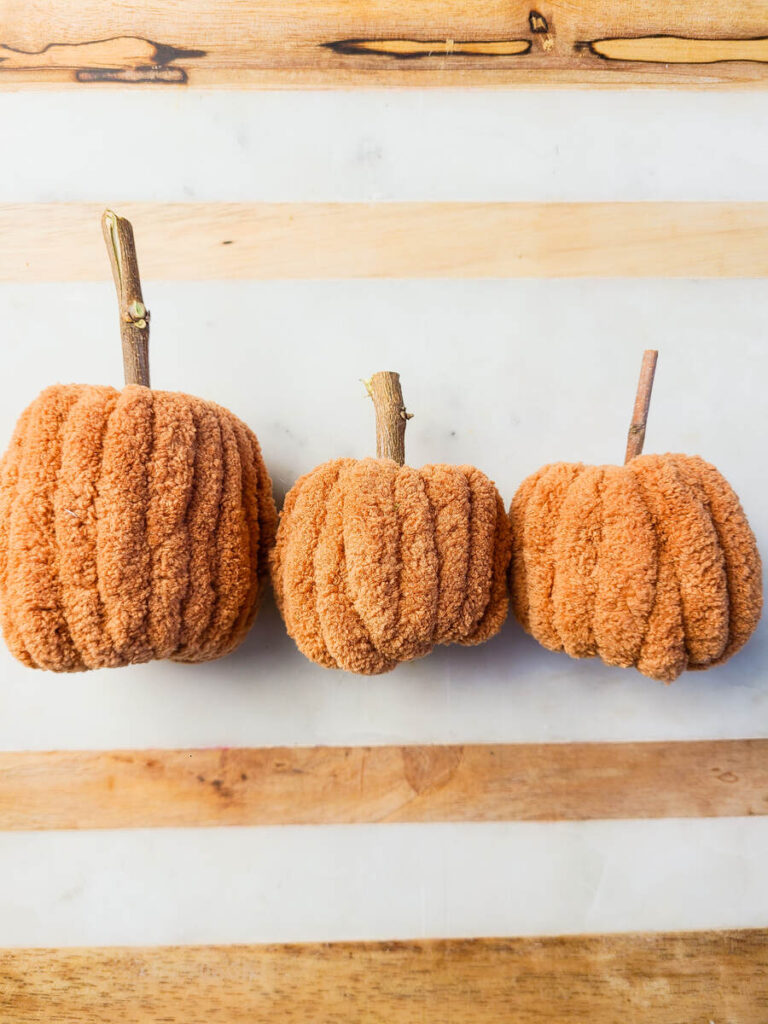
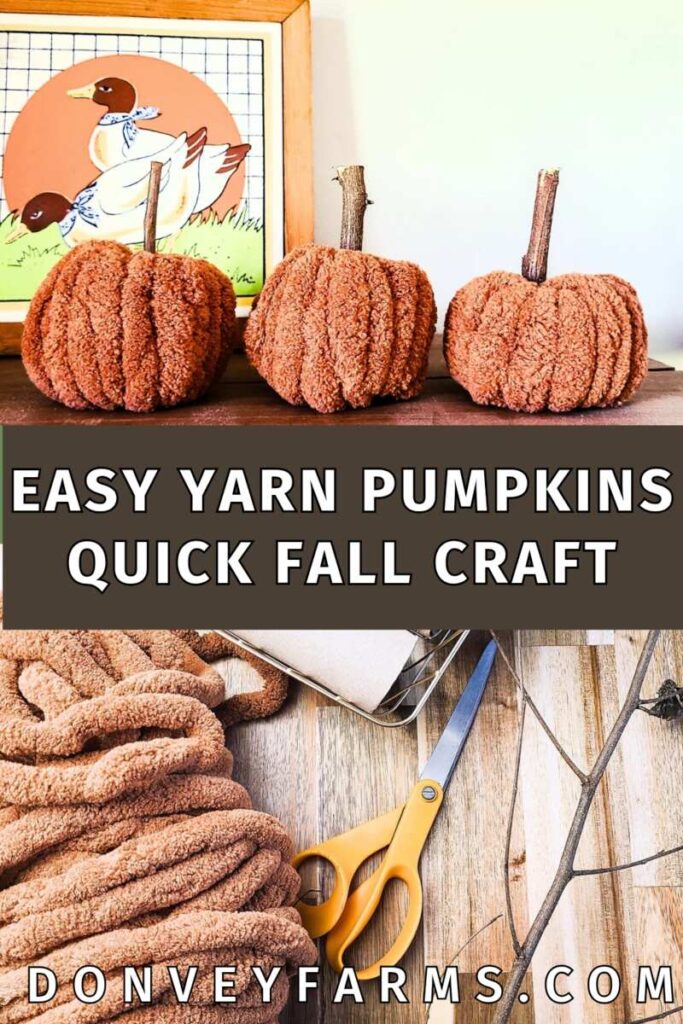
A plush yarn pumpkin is a miniature homemade pumpkin (between 3-5 inches height and width) made from jumbo plush yarn wrapped around a brown paper roll with a stick inserted in the center of it. They can be made in various sizes and colors and used as a decoration, to gift, or to sell.
Why You’ll Love This Craft:
- Minimal materials: this project takes just 3 materials and 1 tool to complete making it a very easy craft to do with kids or large groups
- Quick & easy: each pumpkin takes less than 5 minutes to assemble making this craft lightning fast to throw together.
- Common items: I love making crafts from items I already have around the house. We always save toilet paper rolls to have them on hand for crafts. Yarn and branches are also very common items in our home.
- Inexpensive: you can use recycled paper towel, toilet paper, or wrapping paper rolls, sticks from outside, and one skein of yarn to make several (20+) tiny pumpkins making this craft easy to complete with under $10 of materials.
- Customizable: you can choose any color of yarn you’d like to make this craft completely your own! Bright pink fuzzy pumpkins? Absolutely! Spooky white and black pumpkins? Why not?!
- Gift-able & Sellable: with the low cost, quick assembly, and appeal of these adorable pumpkins it makes them awesome for gifting or selling at farm stands, craft shows, vendor shows, or farmers markets!

What Kind of Yarn Do You Need To Make This Craft?
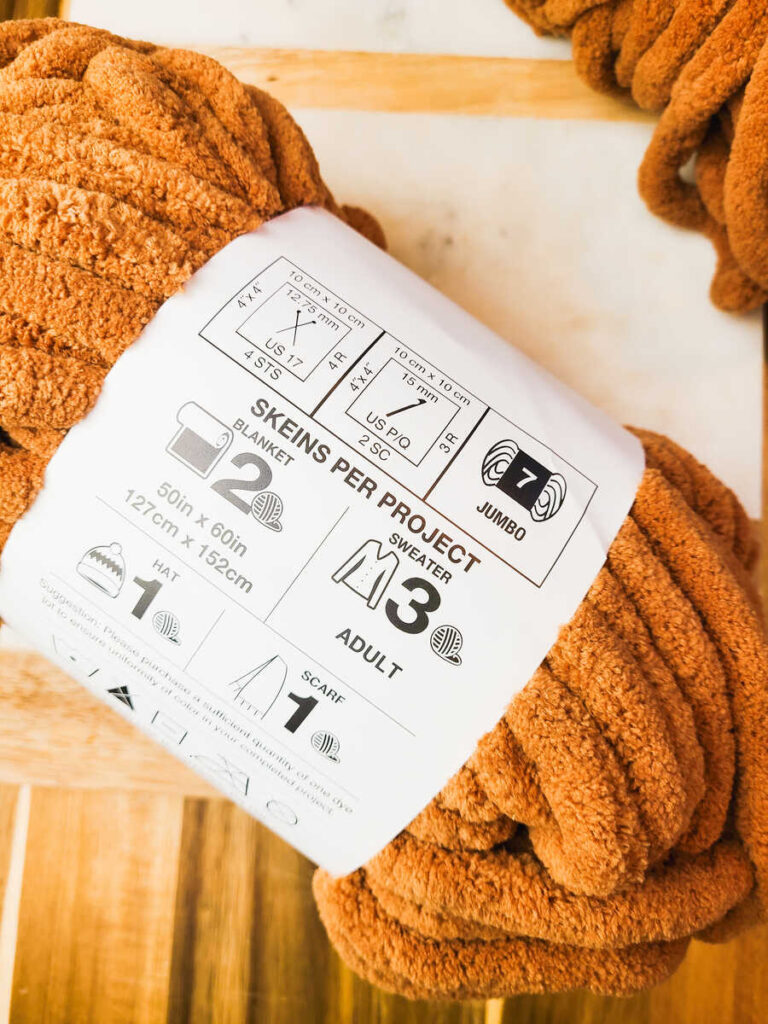
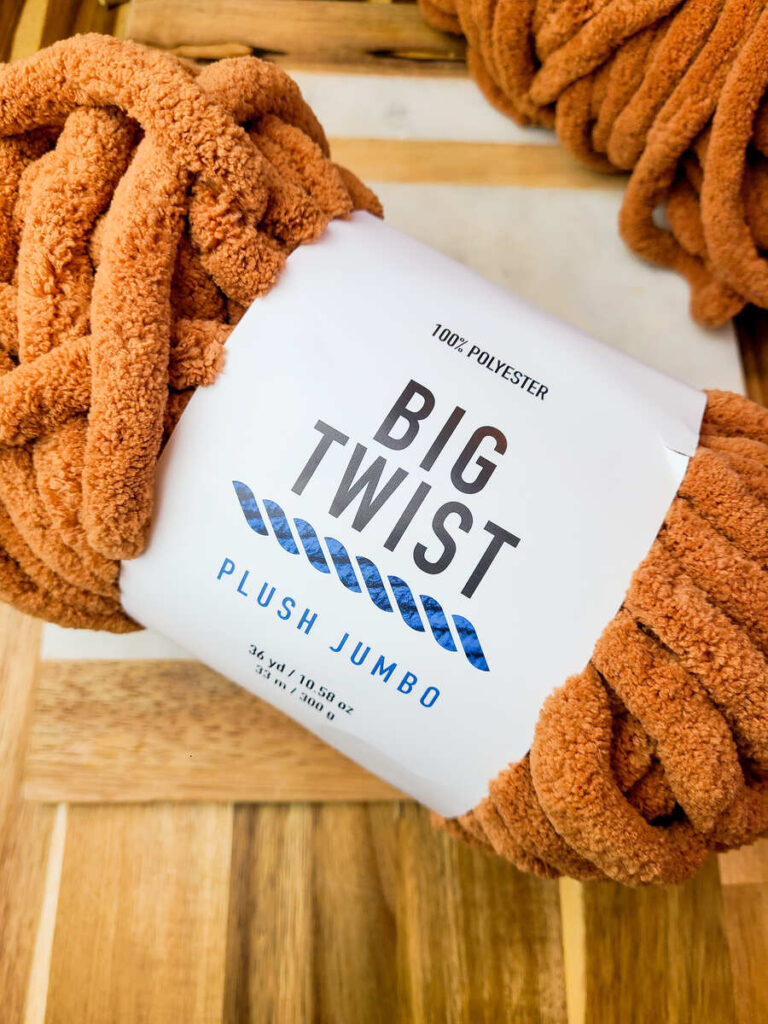
For this project I use a jumbo weight plush 7 yarn. The thickness of the yarn makes putting these pumpkins together a breeze. You can use any weight of yarn. But be warned, the smaller you go, the more times you need to wrap around the pumpkin to cover the paper towel roll making this project take much longer.
Tools You’ll Need:
Materials:
Brown paper roll (toilet paper rolls, wrapping paper rolls, and paper towels rolls will all work)
Sticks (cut between 3″-5″)
How To Make Plush Yarn Pumpkins:
Gather materials and supplies for the project

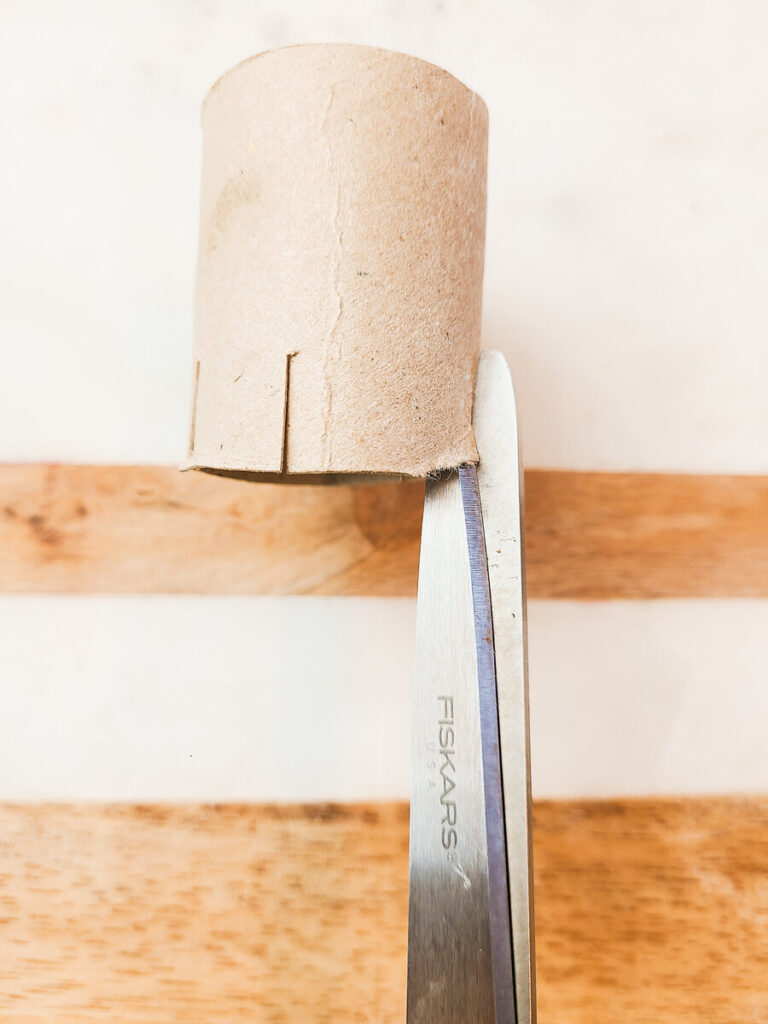
Cut the brown paper roll to size ( for toilet paper rolls I cut them in half for shorter pumpkins and keep them whole for longer pumpkins approximately between 3-5″)

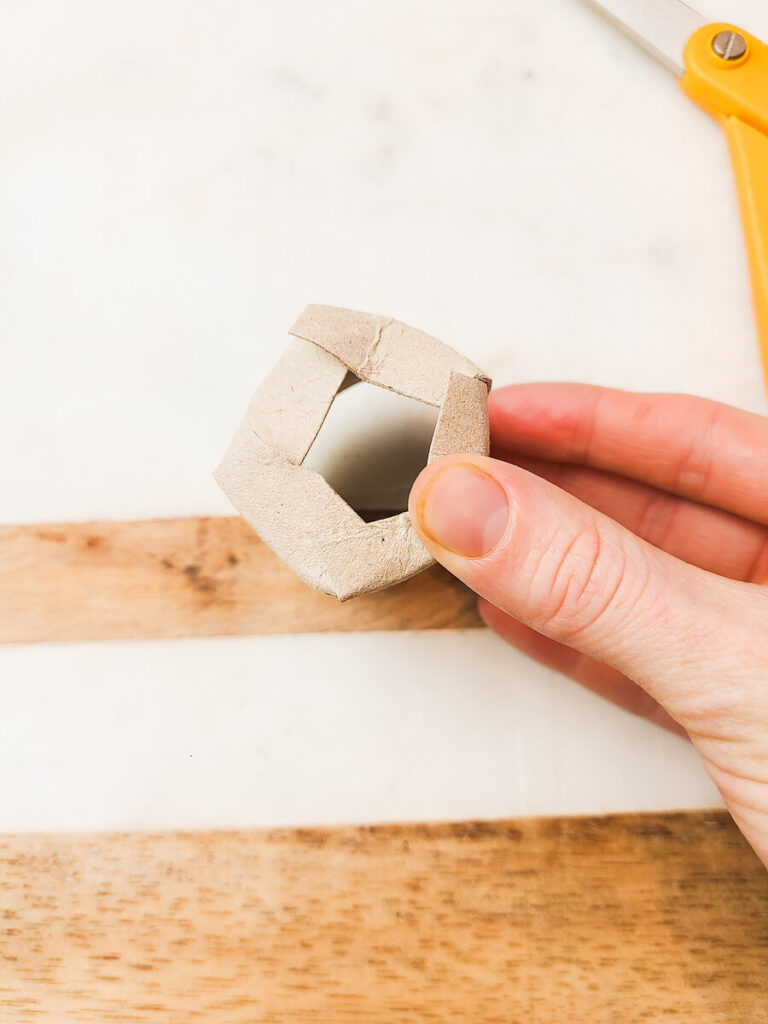
Cut multiple small slits in the top and bottom of the brown paper roll and fold edges inward partially (not flat to the inside)
Trim a piece of plush yarn between 18-24 inches long
Start to weave the yarn in and out of the brown paper roll through the center hole to start forming the pumpkin. Add more yarn as needed.

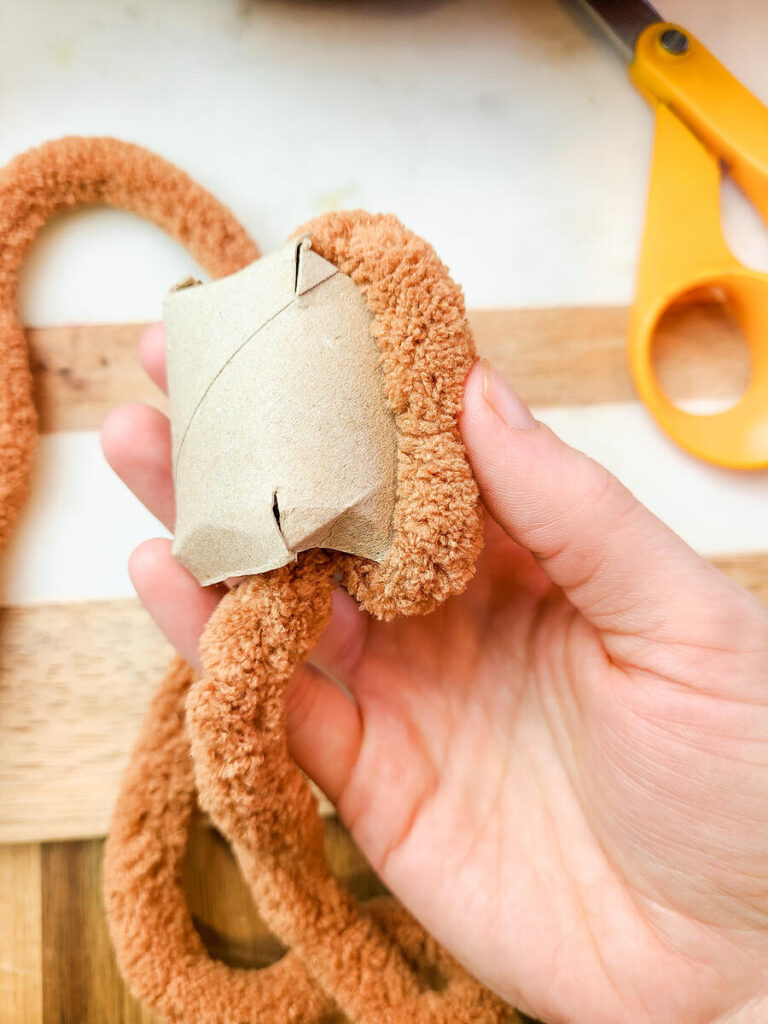
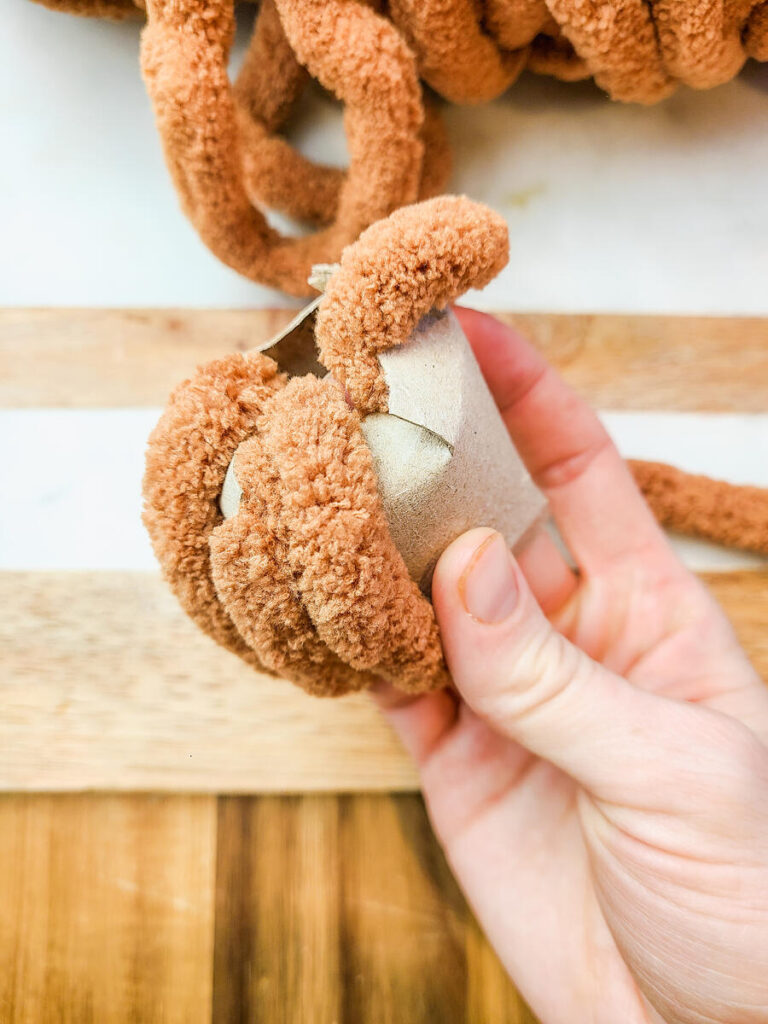
Once completely covered, tuck both ends of the yarn into the center of the brown craft roll
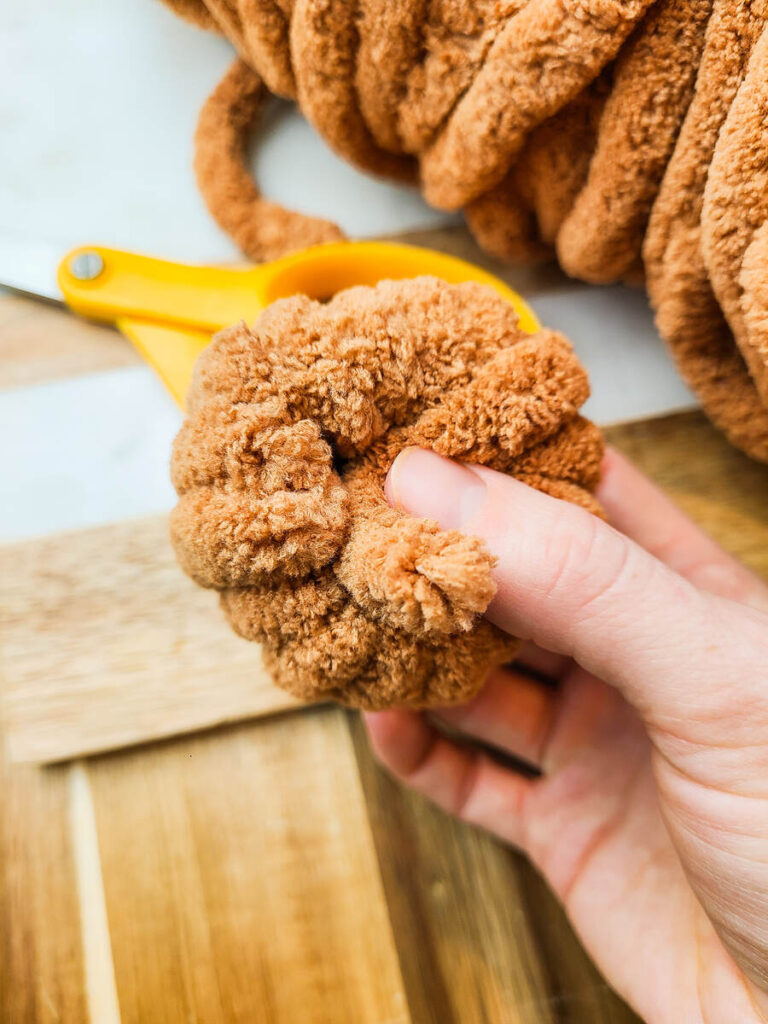
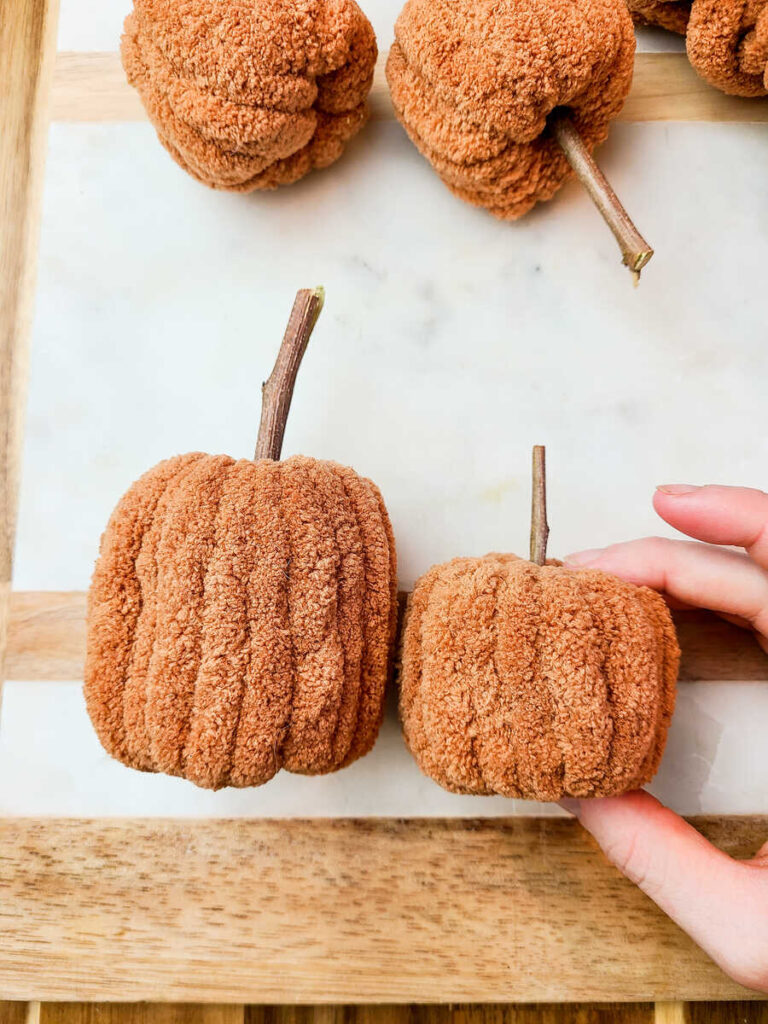
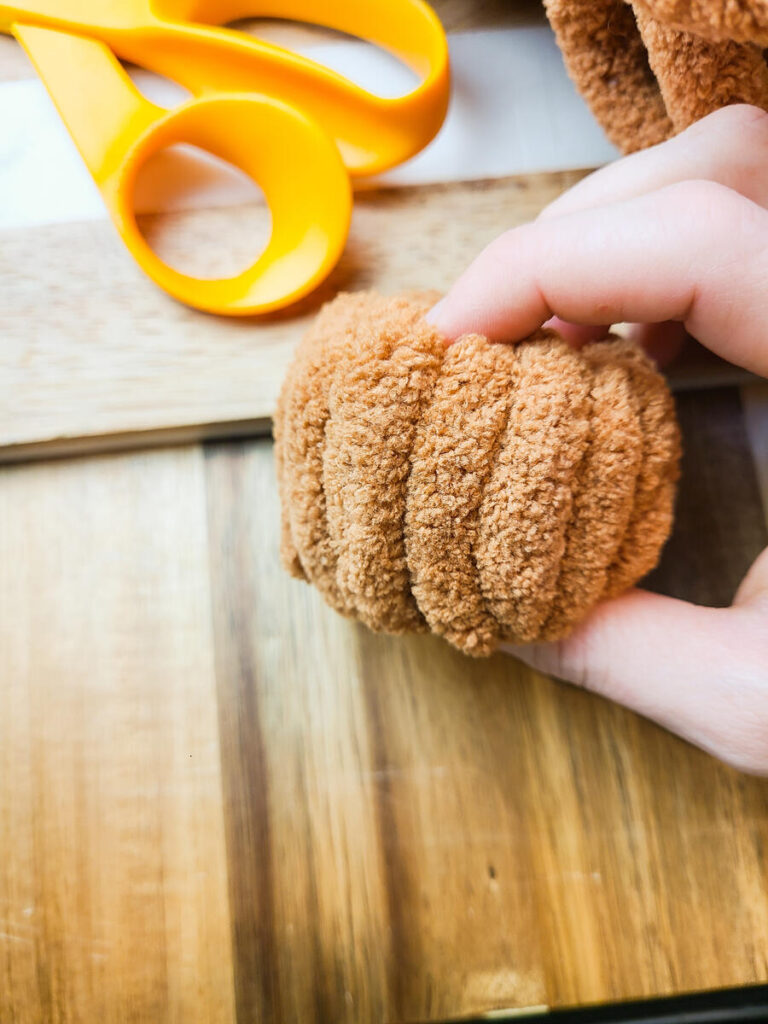
Carefully press the top and bottom edge of the pumpkin to create a rounder look ( if desired)
Insert the stick directly into the center of the pumpkin
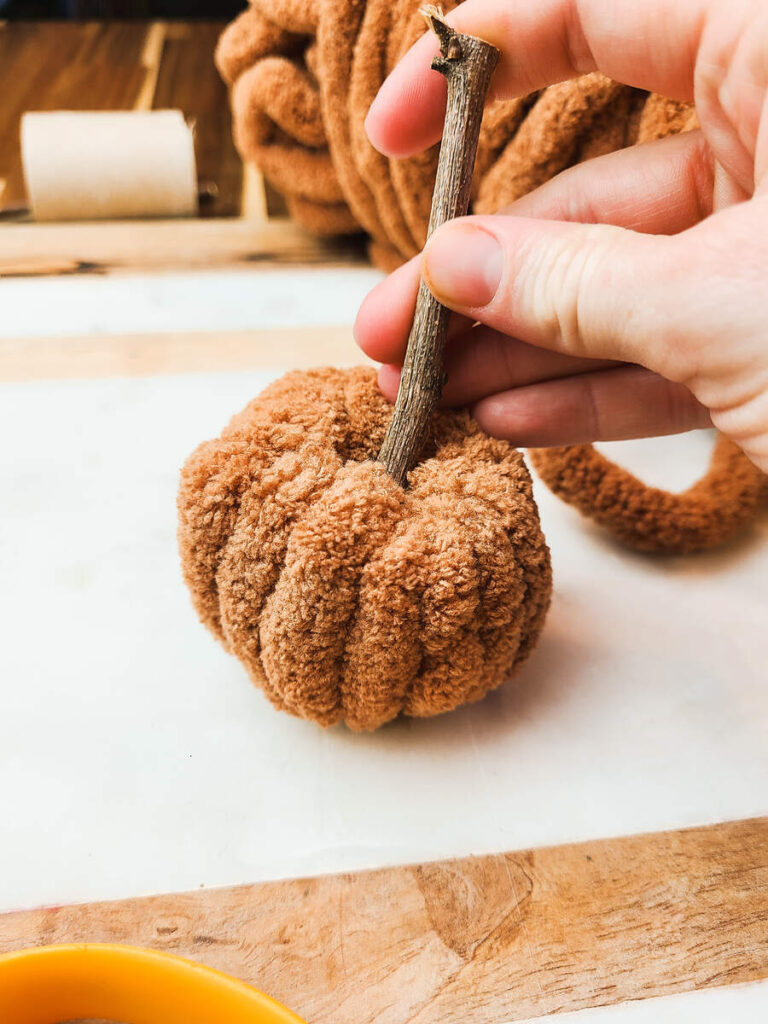
You’re done! Enjoy your little plush pumpkin or make more!

How To Make Plush Yarn Pumpkins
Equipment
- Scissors
Materials
- Yarn
- Sticks
- Brown craft paper roll
Instructions
- Gather materials and supplies for the project
- Cut the brown paper roll to size ( for toilet paper rolls I cut them in half for shorter pumpkins and keep them whole for longer pumpkins approximately between 3-5″)
- Cut multiple small slits in the top and bottom of the brown paper roll and fold edges inward partially (not flat to the inside)
- Cut a piece of plush yarn between 18-24 inches long
- Start to weave the yarn in and out of the brown paper roll through the center hole to start forming the pumpkin. Add more yarn as needed.
- Once completely covered, tuck both ends of the yarn into the center of the brown craft roll
- Carefully press the top and bottom edge of the pumpkin to create a rounder look ( if desired)
- Insert the stick directly into the center of the pumpkin
- You’re done! Enjoy your little plush pumpkin or make more!
Did You Love This Craft?
Let me know your thoughts in the comments below!
This post contains affiliate links, which means I make a small commission at no extra cost to you. Please read my full disclosure policy here.